Effective Ways to Replace Your Toilet Flapper in 2025: A Smart Guide
How to Replace Toilet Flapper: A Smart Guide for 2025
Are you experiencing frequent toilet clogs or persistent running water? These are common issues that often point to a faulty toilet flapper. Understanding how to replace toilet flapper components is essential for maintaining your bathroom’s efficiency and avoiding wasted water. In this guide, we’ll explore straightforward toilet flapper replacement steps that anyone can follow, guiding you through the process of a DIY toilet flapper change while also troubleshooting other common toilet problems.
Understanding Toilet Flappers and Their Importance
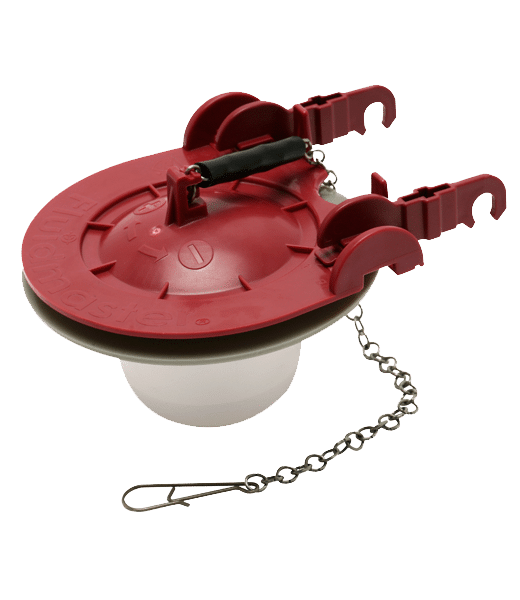
The toilet flapper is a crucial component of the toilet flushing mechanism. It controls the flow of water from the toilet tank into the bowl when you flush. Over time, flappers can deteriorate due to water exposure, leading to leaks and higher water bills. By learning how to install toilet flapper correctly, you extend the lifespan of your toilet and promote a more efficient plumbing system. Let’s dive into the details, including the different types of toilet flappers available in the market.
Common Toilet Flapper Types
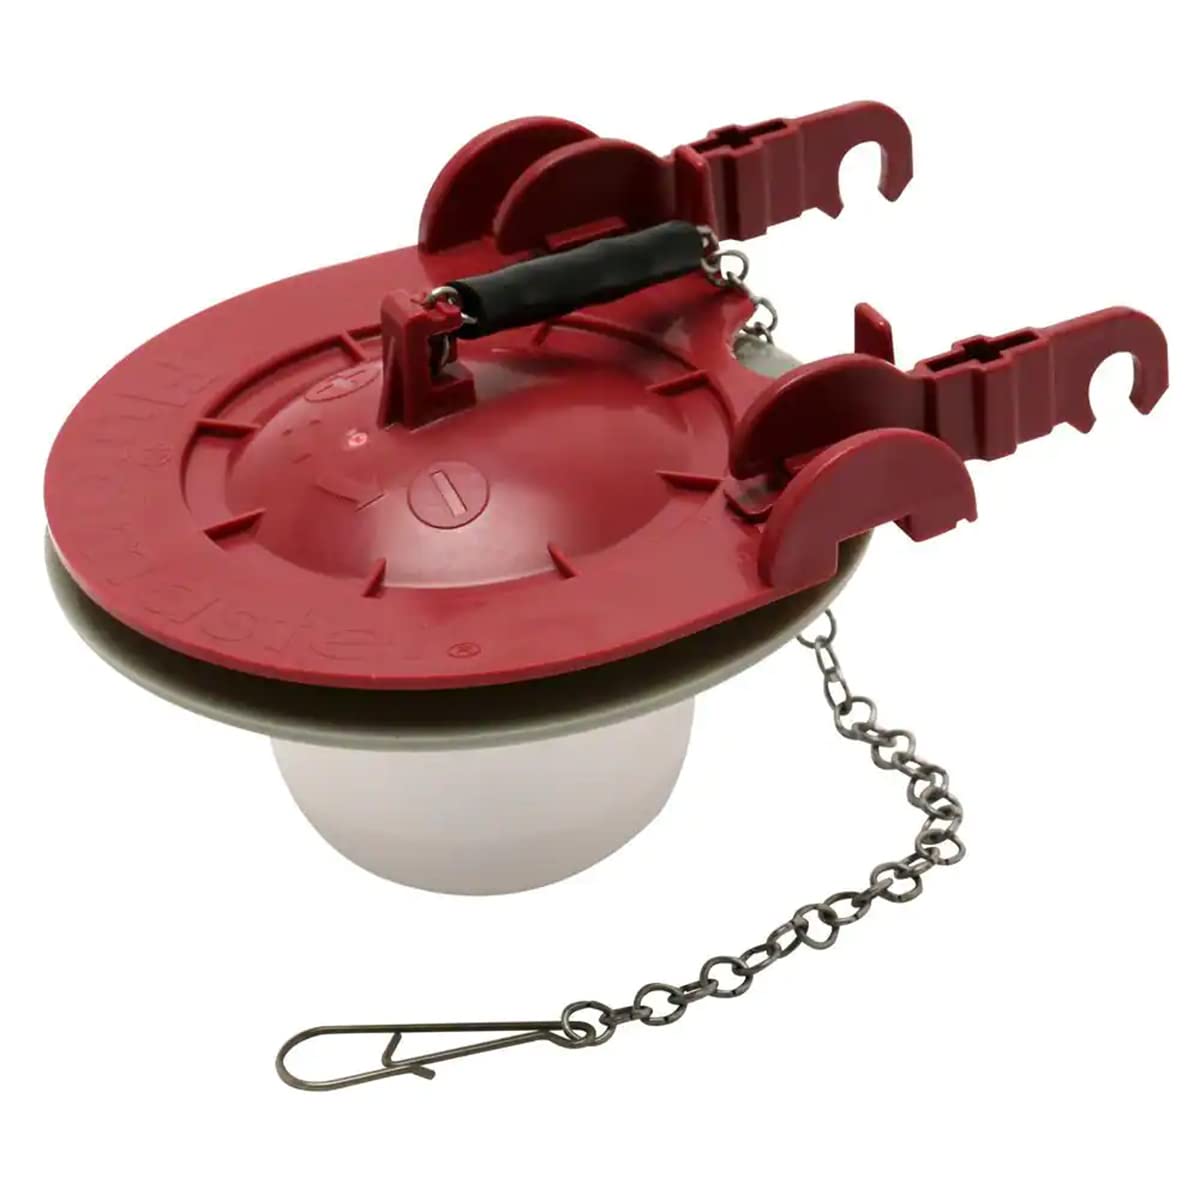
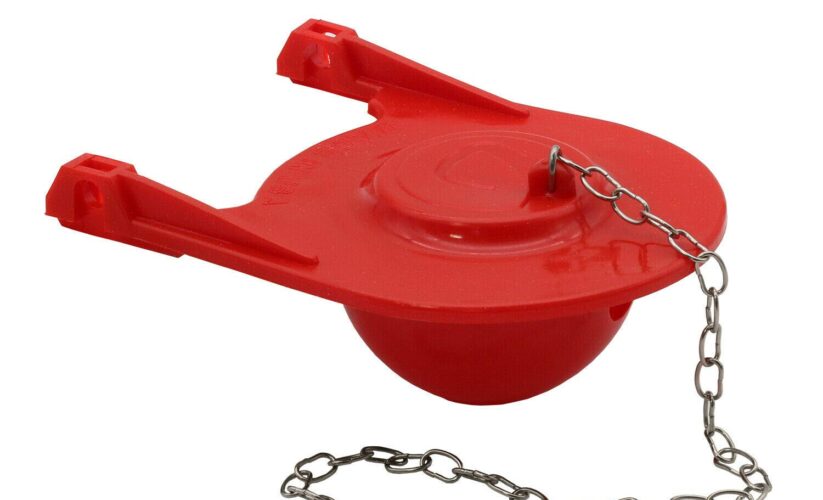
When shopping for a replacement, you’ll find various toilet flapper types available, including standard rubber flappers, adjustable flappers, and specialty flappers designed for dual flush systems. Rubber flappers are the most common, but if you have a specific toilet model, checking the manufacturer’s specifications for a compatible flapper design is essential. Knowing the right type can streamline your toilet parts replacement process and help ensure a proper fit that avoids any issues.
Signs of a Faulty Toilet Flapper
How can you tell if your toilet flapper needs to be replaced? Look for signs like a persistent running toilet, frequent adjustments of the flush mechanism, or visible wear and cracks on the flapper itself. If you notice a water level that doesn’t settle, it might indicate that your flapper isn’t sealing correctly. Recognizing these signs early can save you time and prevent costly repairs down the line.
How to Choose the Right Toilet Flapper
Selecting the correct flapper is essential for effective toilet maintenance. When buying a toilet flapper, consider factors such as size (usually 2 inches or 3 inches), material, and compatibility with your toilet model. Visit your local toilet parts store or check online for the appropriate specifications. Reading reviews and understanding flapper features can also guide your purchasing decisions, ensuring you choose the best flappers for toilets.
Steps for DIY Toilet Flapper Change
Now that you understand the importance of the toilet flapper, let’s walk through the practical steps of replacing it. With the right tools and a bit of patience, you can tackle this simple toilet repair yourself, saving money and enhancing your plumbing knowledge.
Gather Your Tools
Before you start, gather the necessary tools for the job, which typically include a replacement flapper, pair of pliers, and a bucket. Having a basic knowledge of plumbing 101 principles can go a long way. Make sure to shut off the stop valve located behind the toilet and give the tank time to drain completely before removing any parts.
Removing the Old Flapper
Once the tank is emptied, disconnect the old flapper from the overflow tube. This is typically achieved by unclipping it from the hooks on the sides of the tank. Inspect for any signs of wear on the other components, like the toilet fill valve and overflow tubes, during this process. Taking note of these factors allows for a more comprehensive toilet tank repair.
Fitting a New Toilet Flapper
After removing the old flapper, position and attach your new flapper by sliding it onto the overflow tube and securing it as needed. Adjust the chain length to ensure a good fit, so it moves smoothly without too much slack. Once your toilet flapper is installed correctly, turn on the water supply and conduct a flush test, making sure the water seals properly and there are no leaks.
Toilet Flapper Maintenance and Troubleshooting
Proper maintenance and regular checks can significantly enhance your toilet’s performance. Understanding common toilet problems and their troubleshooting techniques can also make a huge difference in your toilet’s functionality.
Regular Inspection for Wear and Tear
To avoid unexpected leaks, conduct routine inspections of your flapper and tank components, keeping an eye out for signs of aging or fatigue in the material. Frequent exposure to water can create mineral build-ups or cause disintegration in the rubber. Regularly checking for these issues helps keep your toilet fully functional, saving you from dealing with costly emergency plumbing situations.
Adjusting Toilet Flapper Height
Another aspect of maintenance involves ensuring the flapper height is adjusted correctly. If the flapper is too low, it may cause issues during a flush cycle, resulting in a weak flush. Conversely, a high flapper can inadvertently contribute to overflow problems. Ensure that you adjust the toilet flapper height to the manufacturer’s specifications, creating a smoother and more efficient flushing operation.
Simple Fixes for Common Toilets Issues
Implementing a few simple toilet repairs can go a long way. Fixing a running toilet often involves ensuring the flapper is functioning well, but if water levels continuously rise too high, adjusting your toilet tank components may also be necessary, like adjusting the float for proper height. Just a small change can enhance overall efficiency!
Key Takeaways
- Identify and replace faulty toilet flappers quickly to avoid leaks and poor performance.
- Regular inspections and adjustments can keep your toilet running optimally.
- Understanding flapper types helps ensure you choose the right replacement when needed.
- DIY replacements are manageable with the right tools and knowledge.
- Routine maintenance can extend the life of other toilet components, reducing long-term expenses.
FAQ
1. How often should I replace my toilet flapper?
You should consider replacing your toilet flapper every 3 to 5 years, depending on water quality and usage. Regular inspections are key to identifying any wear and tear, thereby avoiding issues like toilet flapper leaks.
2. What tools do I need for a toilet flapper replacement?
The basic tools required for replacing a toilet flapper typically include a new flapper, pliers, and sometimes a flathead screwdriver for better maneuverability in tight spaces. Ensuring your toolbox has essential plumbing tools can handle any toilet repair basics.
3. Can I use any flapper for my toilet?
Not necessarily. The flapper must be compatible with your specific toilet model, considering the size, shape, and flushing mechanisms. Always check the manufacturer’s specifications when choosing a replacement flapper.
4. Why is my toilet still running after changing the flapper?
If your toilet continues to run after a flapper change, there may be additional issues, such as a malfunctioning toilet fill valve or incorrect flapper height. It may be worth examining all related components to diagnose and solve the issue effectively.
5. How can I prevent toilet leaks?
Regular toilet maintenance is essential for preventing leaks. Make it a habit to periodically check the flapper and other tank components for signs of wear and ensure proper adjustments. Fixing minor issues promptly can lead to significant savings on water bills.
For a thorough understanding of your toilet’s performance and for any further assistance regarding repairs, feel free to explore more resources provided in the articles at Toilet Repair Guide and Toilet Installation Tips.
Whether you encounter problems with your toilet flapper or handle more significant plumbing issues, being proactive and well-informed allows for effective toilet plumbing repairs that ensure your household runs smoothly!