Smart Ways to Fix Holes in Walls Effectively in 2025 – Get Started Now!
Smart Ways to Fix Holes in Walls Effectively in 2025
Essential Wall Repair Techniques for Every Homeowner
Repairing a hole in the wall may seem daunting, but with the right tools and techniques, anyone can tackle this common home repair task. Whether it’s from a furniture mishap or simply the natural settling of a house, knowing how to fix wall holes is a valuable skill that can enhance your home’s appearance and value. In this guide, we’ll explore the best methods for patching drywall, filling in wall holes, and ensuring that your repairs blend seamlessly into your existing walls.
One of the main benefits of learning DIY wall repair is the potential cost savings. Hiring professionals can be expensive, and while some jobs may require an expert touch, many repairs can be accomplished with a bit of guidance. By using this comprehensive drywall patching guide, you can effectively address minor holes from nails or larger damages that require more intensive methods.
As we delve into the article, you’ll find home repair tips, tools for wall repair, and even common mistakes to avoid. You’ll also learn how to prepare your walls for repair, ensuring a smooth finish and a visually appealing result. Ready to get started on fixing those wall holes? Let’s go!
Preparation and Planning for Wall Repairs
Before tackling wall repair, it’s crucial to prepare effectively. Assessing the size and type of the hole will guide your repair approach. For small holes, simple fillers might suffice, but larger repairs may require a more involved process.
Assessing the Damage
Start by inspecting the wall for the extent of the damage. Small holes, like those from nails, can often be filled easily. For larger holes, such as those created by doorknobs or furniture impacts, it’s important to consider patching techniques that restore the wall’s structural integrity.
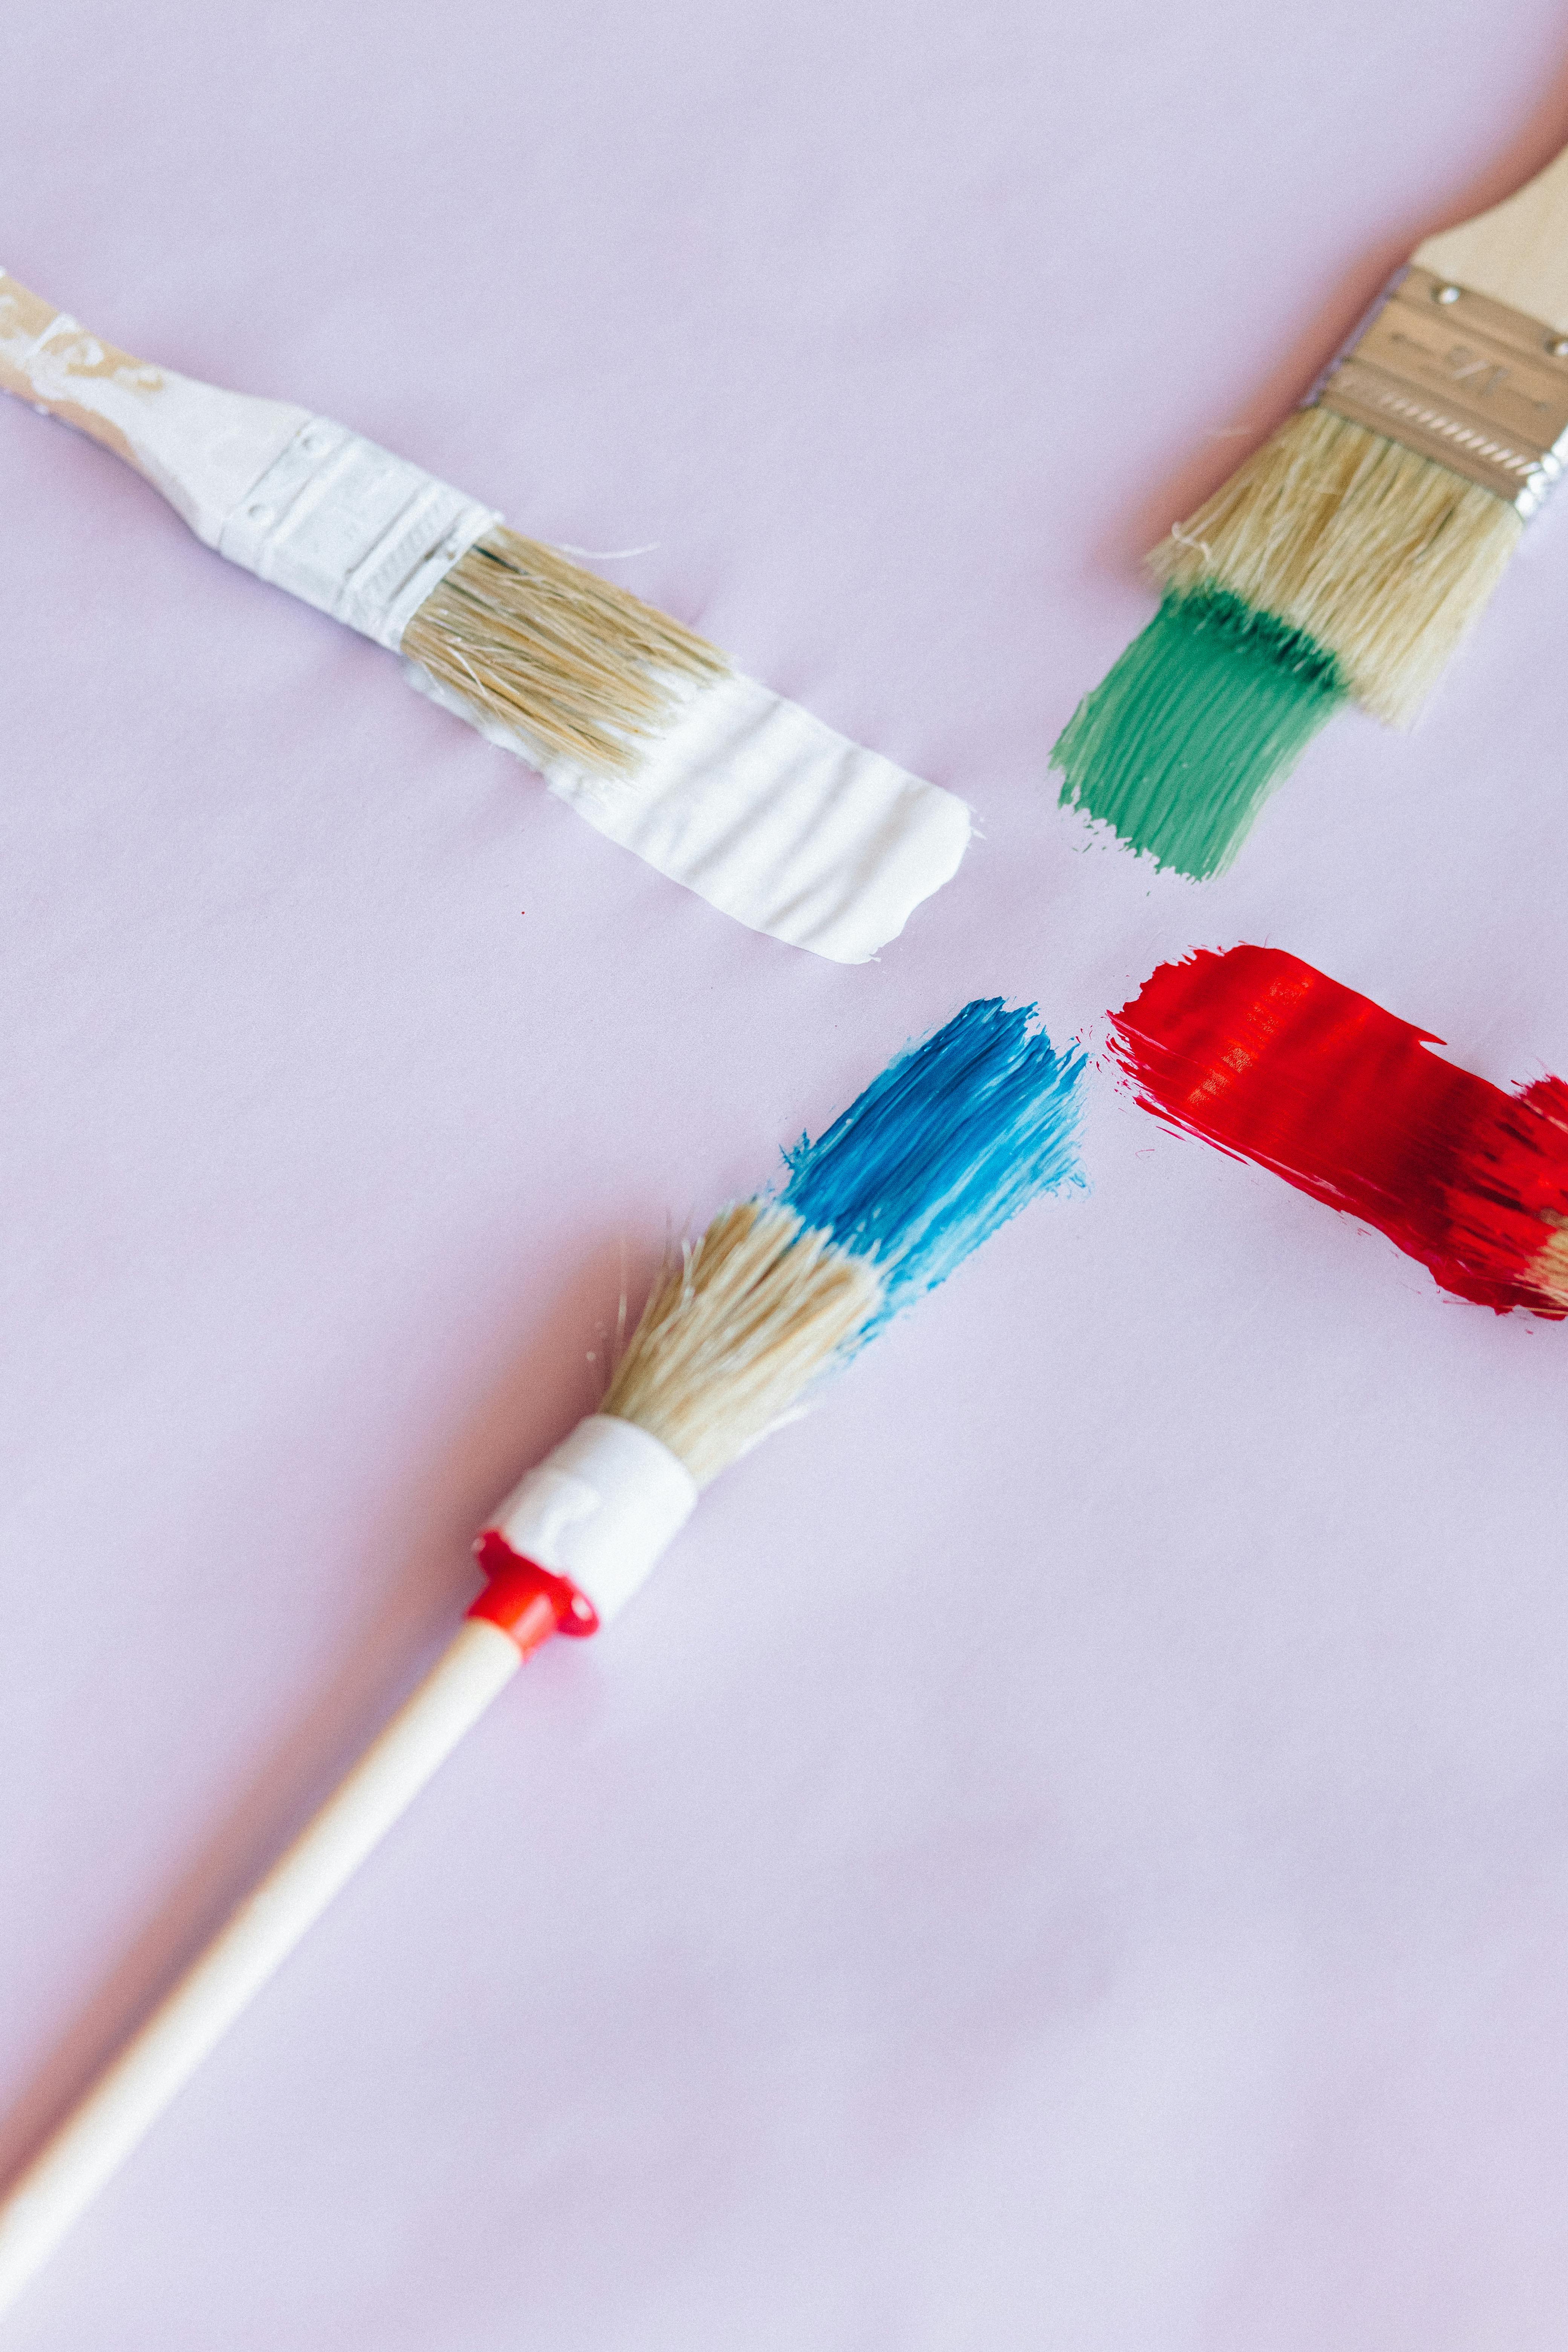
Choosing the Right Tools and Materials
A successful wall repair process depends on having the right supplies handy. Essential tools include putty knives, sandpaper, and joint compound, along with specialized items like drywall repair kits for more extensive damage. Having quality materials ensures a longer-lasting repair.
Surface Preparation
Properly preparing the surface before making repairs is vital. Clean the area around the hole, removing any loose paint or debris. A clean surface helps the patching compound adhere better, leading to a more durable repair.
Building on these fundamentals, let’s explore different techniques for filling wall holes.
Different Patching Techniques for Holes
Every type of wall damage necessitates a unique approach to effectively address it. Understanding different patching techniques can greatly enhance your wall repair efforts.
Quick Fixes for Small Holes
For fixing nail holes or minor dings, consider using spackling compound. It dries quickly and can be easily sanded to a smooth finish. Apply it with a putty knife, allowing for easy cleanup and minimal mess.
Step-by-Step Large Hole Repair
Repairing larger holes often requires a more elaborate technique. After assessing the damage and gathering your tools, cut a piece of drywall to fit the hole. Secure it with adhesive or screws, and then cover the seams with joint compound. Sand it down once dried for a smooth finish.
Understanding Different Wall Materials
It’s crucial to recognize that walls can differ in material. For example, repairing plaster walls requires a distinct methodology than drywall. Each material has specific needs regarding adhesion and finishing, which can impact your repair results.
This naturally leads us to explore how to ensure a professional finish for your wall repairs.
Finishing Techniques for a Professional Look
A well-executed wall repair isn’t just about filling in holes; it’s also about finishing techniques that achieve a seamless look. This section discusses how to blend your repairs with your walls effectively.
Sanding and Smoothing
Once your patching compound has dried, sanding is critical. Use fine-grit sandpaper to smooth the surface. This helps to create a level surface that matches the surrounding area. Ensure to wear a mask to avoid inhaling dust.
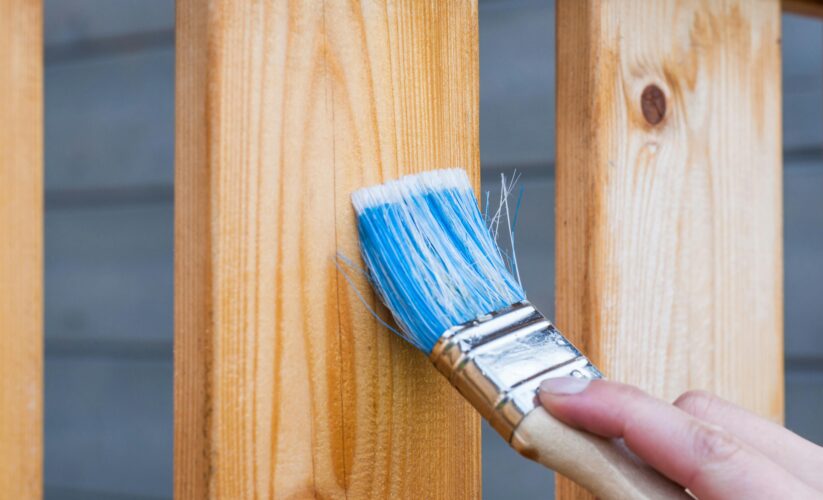
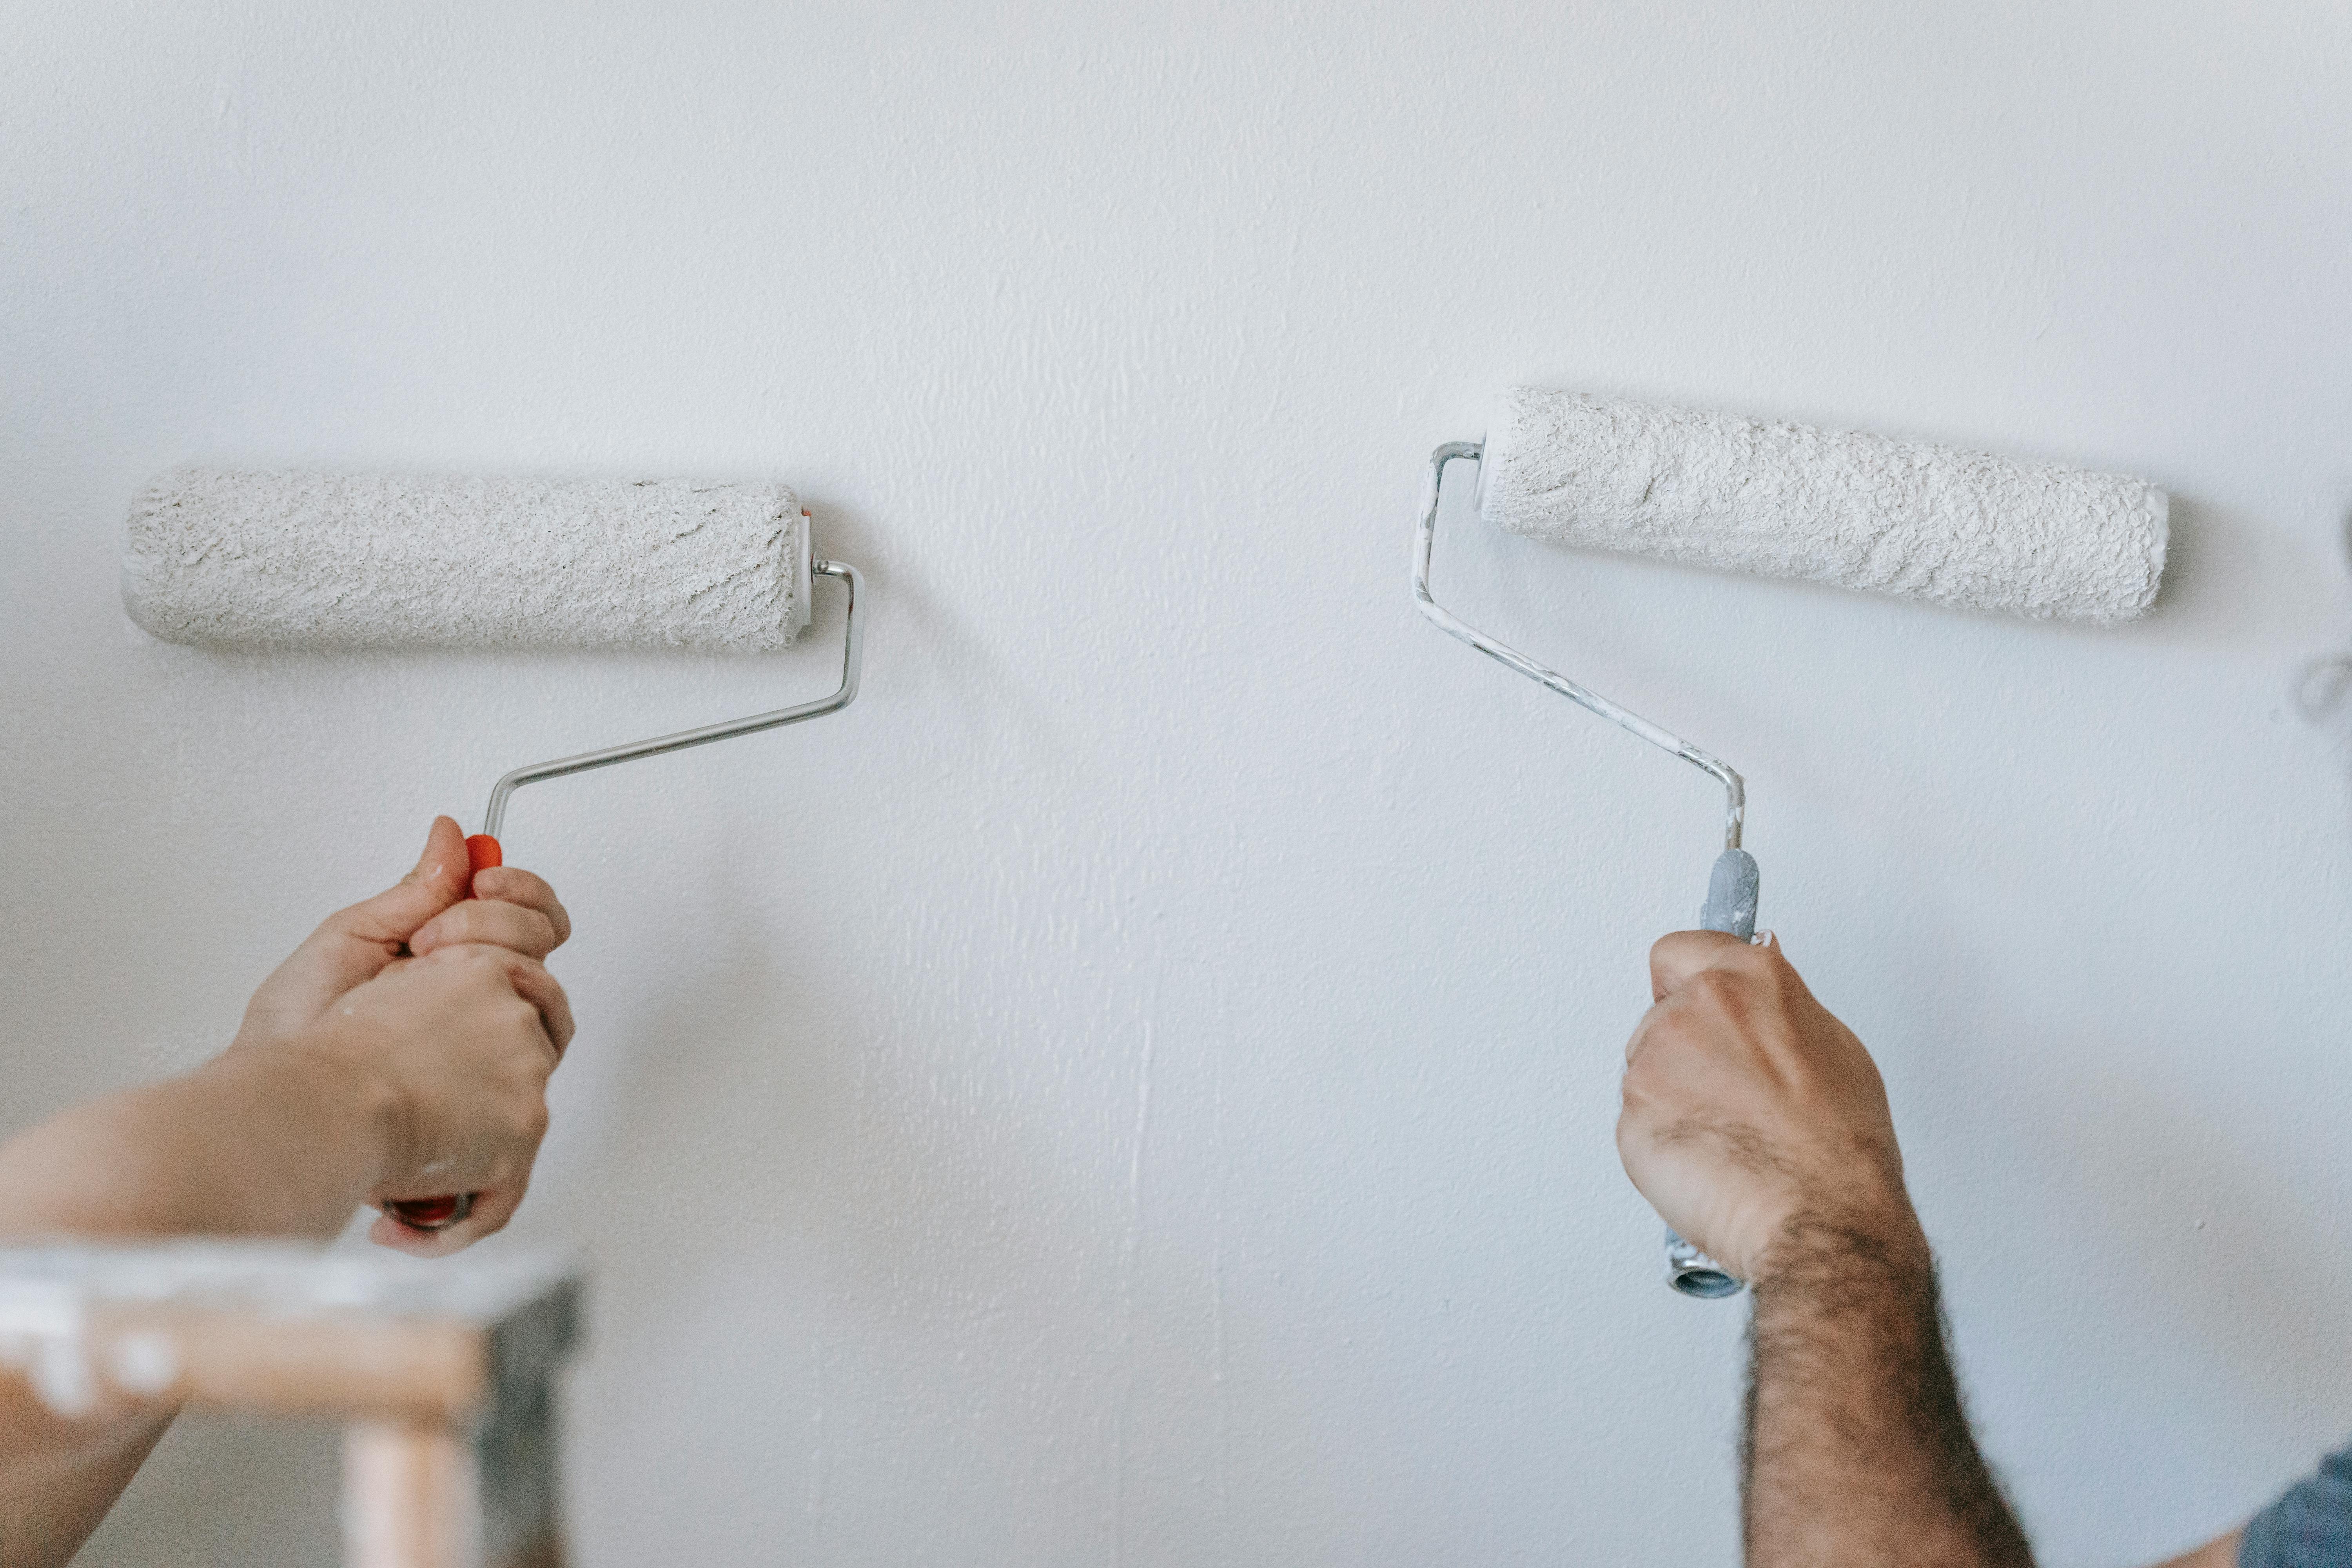
Painting Repaired Areas
The final step in wall repair involves painting over the patched area. Using a primer before painting can help in matching the wall color and avoiding any discoloration. When selecting paint, choose a color that closely matches your existing walls for aesthetic consistency.
Checking for Texture Matching
If your walls have texture, it’s important to replicate that in the repaired area. Whether using a texture spray or a sponge technique, ensuring your repairs match the surrounding wall will enhance the overall look of your home.
With the details on effective finishing techniques covered, let’s discuss common mistakes to avoid when repairing walls.
Avoiding Common Wall Repair Mistakes
Even seasoned DIYers can make errors when it comes to wall repair. Recognizing and avoiding these common pitfalls can save time and reduce the need for future repairs.
Overlooking Wall Preparation
A frequent mistake is neglecting to prepare the wall surface properly. Cleaning and prepping the area isn’t just about aesthetics; it ensures better adhesion of your patch and longer-lasting results.
Using Incorrect Materials
Choosing the wrong materials for your repair can lead to frustrating outcomes. It’s essential to select compounds and tools that are appropriate for the specific wall type you’re working with. Always refer to product guidelines for optimal results.
Underestimating the Importance of Curing Time
Patching compounds require time to cure adequately. Rushing this step can result in cracks or peeling later on. Always follow the manufacturer’s suggested curing times before proceeding to sanding or painting.
In conclusion, each wall repair journey is unique, and understanding the nuances of different types of repairs can lead to better outcomes. Let’s finish with some key home repair tips that every homeowner should keep in mind.
Home Repair Tips for Every Homeowner
Maintaining your walls goes beyond simple repairs; it includes regular evaluations and preventative measures. Here are some tips for effective wall maintenance.
Regular Inspections
Scheduling routine checks for wall integrity can help catch issues before they escalate. Look for signs of wear, moisture damage, or cracking, which could indicate underlying problems.
Learning from Experience
Engaging in DIY repairs provides valuable insights for future projects. Documenting your experiences helps in understanding what techniques work best for particular situations.
When to Call a Professional
Some repairs may be too extensive or complicated for DIY solutions. Knowing when to reach out for professional wall repair services can save time and stress. Larger structural problems or extensive water damage often necessitate expert intervention.
Overall, proper wall maintenance and repair enhance not only your wall’s appearance but also its longevity. Whether you choose to DIY or consult a professional, keeping your walls in excellent condition is essential for both aesthetics and integrity.
For more information on home improvement projects, visit this link or explore additional resources on wall repair techniques.